Sunday, February 1, 2015

Project: See & Sew B5411 Half Apron

See & Sew: B5411 - Half Apron

Purpose: I want to make this for a very good friend.  She called 911 for me when I had the stroke.  She lives in Minneapolis, and she called 911 from there.  She likes to bake, even for business trips. I thought that she can take it with her when she is away from home.  She is coming for a visit on Thursday, Jan 29, 2015. I will finish by then.
Timeline: 
Dec 22, 2014 - I began this project around Christmas.  I prepped the pattern, pinned the pattern pieces, cut out the pattern, made a pocket, and sewed the edge of the apron.  It took 2 hours to accomplish this.  Then, I realized that I sewed the edges of the apron incorrectly; the raw scalloped edges were showing.

Gathering the waistband
Jan 25, 2015 - I resumed the project this past Sunday.  I removed the erroneous portion and re-sewed the correct way.  I was very pleased with the outcome!  I also gathered the waist. I was confused about how to attach the waistband to the apron.  I will continue to research this task.
Jan 27, 2015 -  I worked on sewing the waistband to the apron, hiding the raw edges of the gathering.  I tried 3 times, but I couldn't get it right.  I will continue tomorrow!
Jan 28, 2015 - I sewed the waistband and started the ties.  I put in 3 hours of work.  I skipped the pleats because I couldn't figure out the instructions.

Sewing the waistband
Jan 29, 2015 -  I completed the apron (2 hours). I took pictures, and I am very pleased the quality.  I noticed that the ends of the apron were 2 different lengths.  I compared against the pattern. I realized the problem.  Skipping the pleats caused the length discrepancy.  No matter!  My friend loved it!

The Finished Product


Sunday, January 18, 2015

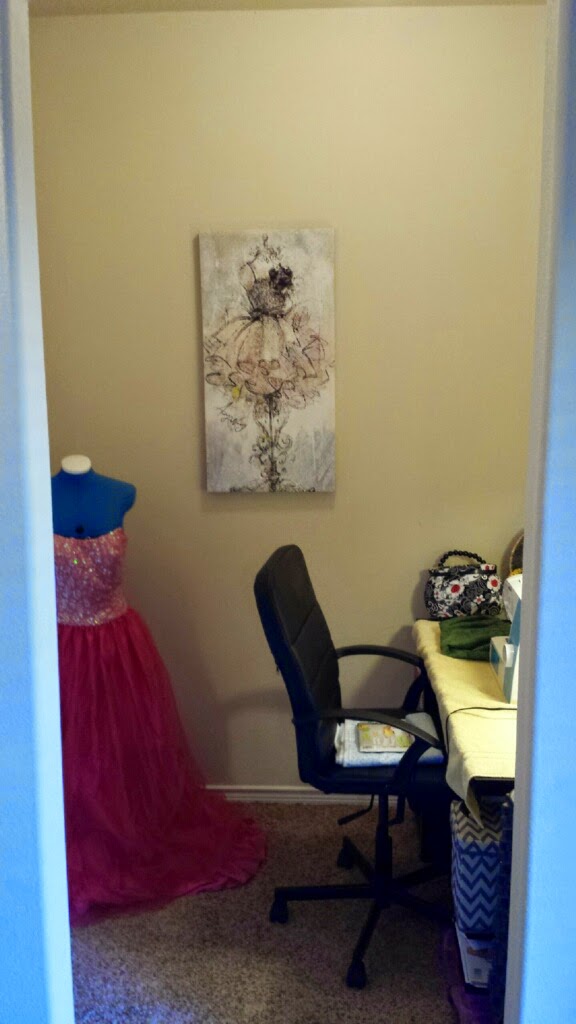
My New Sewing Room

We added a place for me to sew.  I am so proud of my space.  We purchased the desk, chair, and the dressform from Craigslist.  I stored my patterns in a collapsible organizer and some sewing books (hello Half Priced Books and Amazon).  For now, I store my fabrics in a plastic storage bin.

Now, I will focus on making some clothes and getting better!

Wednesday, January 7, 2015

Finding the natural waistline

I mentioned that I have problems finding my natural waistline (evidence from Simplicity 1368).
I found some references for the natural waistline from various blogs:

Lolita-Tips Blog
Reneet Bouchard Blog

Sew Store Bought Blog


Project: Simplicity 1368 - Elastic Band Skirt - Fail

I took another JoAnn's sewing level 1 class - making an elastic band skirt.  I took pride in almost making a skirt in 2.5 hours!  I had to thread the elastic when I got home (about 30 mins).  I used a safety pin, which I found to be tedious. I bought a bodkin which used for another project; the bodkin was much better!


Pattern:  Simplicity 1368, View B
Details:  Pattern Size 18 (I used the largest pattern size, with the intention to bring it in)
Changes:  Enclosed the waist band, used a less thick waistband
Outcome:  When I tried on the skirt, the waist was 5" too big.
Lessons learned: I don't how to interpret the measurements in the envelope. I don't know where my natural waist is. I took my waist measurement around my belly button, which is wrong. After research, use your natural waist, lean over sideways and look for where your torso bends.  For me, it pretty high, but that is your natural waist.  I also learned a lesson that the fabric makes a big impact to your clothes.
Future Alterations: Next time, I will add another 3-4" to length.

My First Attempt


I found some references for the natural waistline:

Lolita-Tips Blog
Reneet Bouchard Blog

Sew Store Bought Blog